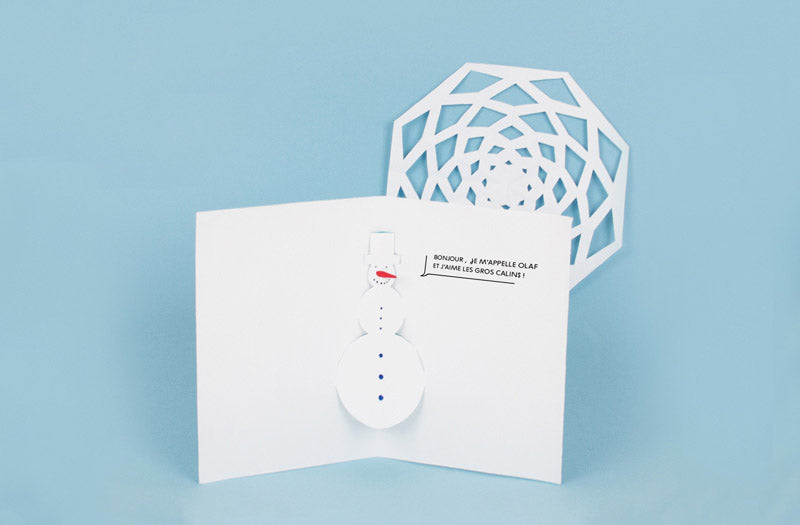
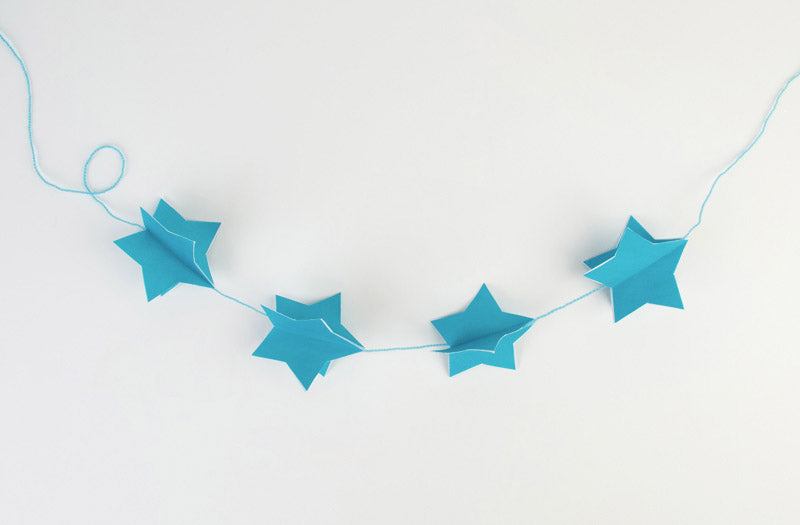
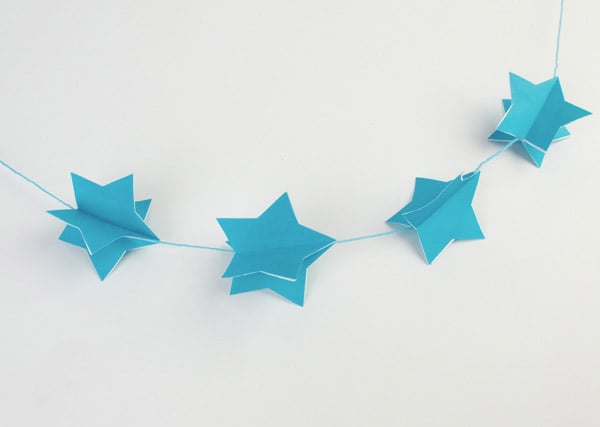
Original idea for child's birthday decoration: snow queen garland

DIY FROZEN GARLAND

You organize the birthday of your princess on the theme of Snow Queen, but are you missing a little decorative element to make it perfect? No problem, My Little Day has it all (much like Oaken, only better)! Thanks to our easy DIY, make a Frozen garland that will delight everyone! Let's go !

TO DOWNLOAD
FREE

IT'S KDO!

  • 1ND STEP.

    1ND STEP.

    1ND STEP.

    Print the Frozen garland printable and cut out the stars.

  • 2ND STEP.

    2ND STEP.

    2ND STEP.

    Fold each star in half and coat both parts with glue. This will allow you to glue 4 stars together.

  • 3ND STEP.

    3ND STEP.

    3ND STEP.

    Using a skewer that you will have previously transformed into a "needle" (for this, you simply have to hang the wool thread with masking tape), pass the wool thread through the stars.

  • 4ND STEP.

    4ND STEP.

    4ND STEP.

    Put on as many stars as you want, and you're done! 

Congratulations, you have successfully made beautiful Frozen garlands! All you have to do is hang them wherever you want!


Practical tip 1: if you don't want to hang them with thumbtacks to avoid marks on the wall, use decorative patafix (it supports up to 2 kg and is found in supermarkets)! And you can hang it wherever you want like that!


Practical tip 2: keep the garland after the birthday and use it as a room decoration! 

See more

TO DOWNLOAD
FREE

IT'S KDO!