
.jpg?v=0)
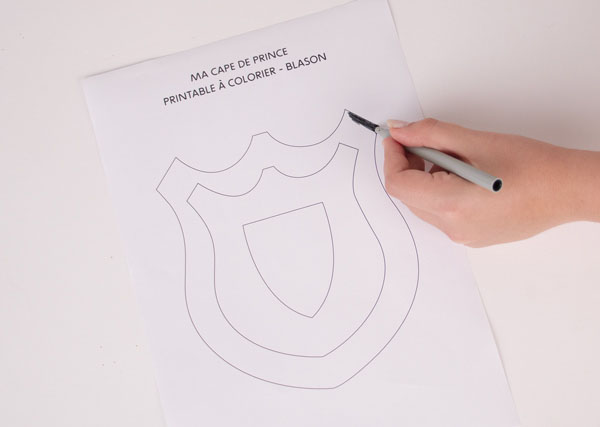
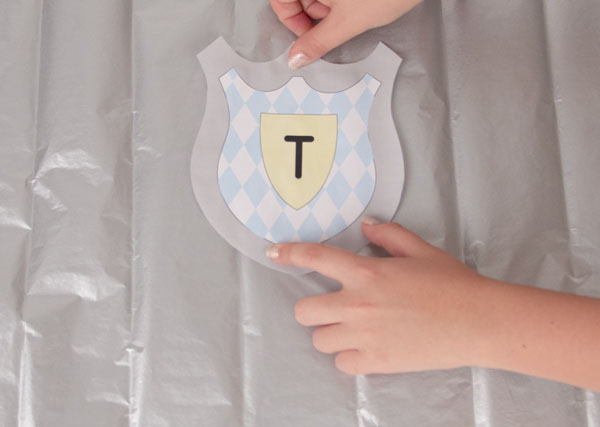
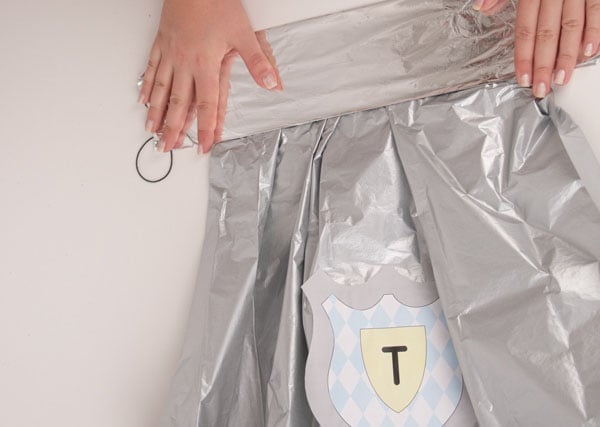
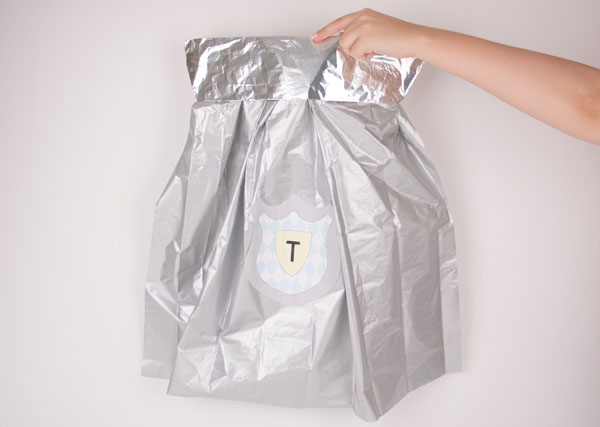
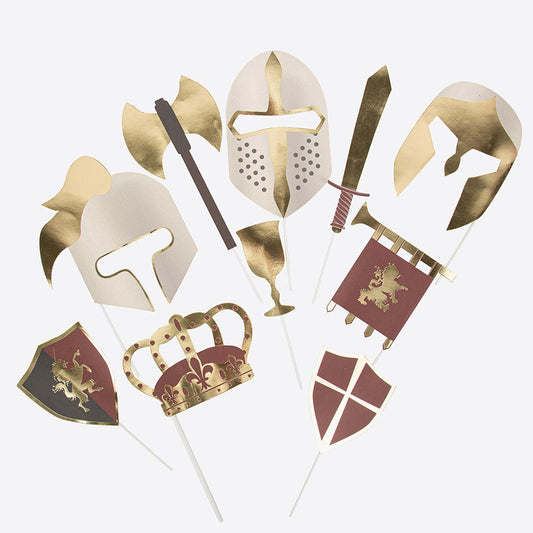
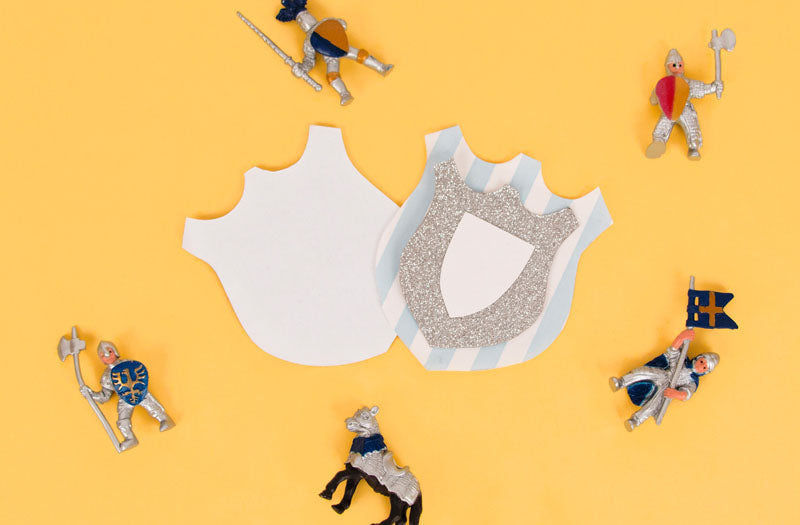
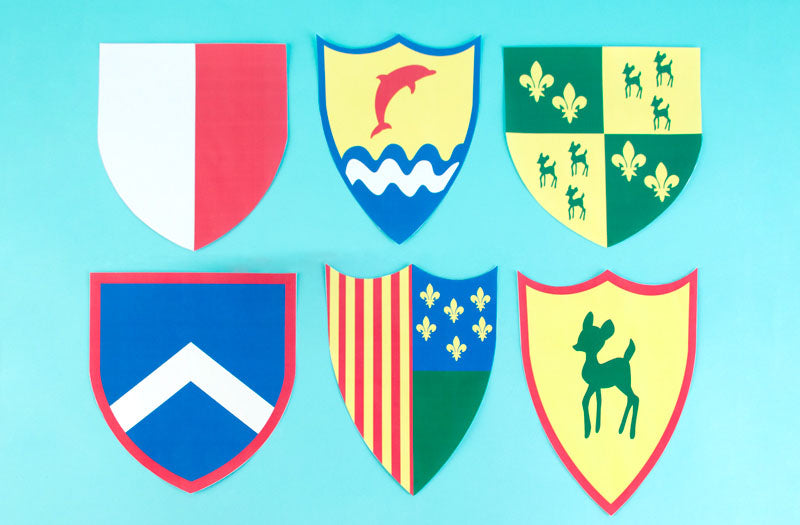
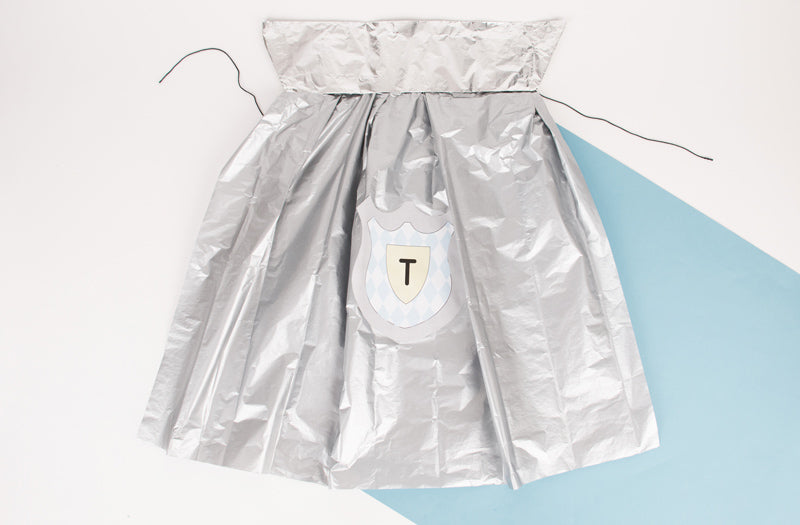
Votre cape plaira à tous les petits garçons qui pourront se déguiser en chevalier avec un bouclier personnalisé ou en prince en ajoutant une couronne à la cape !
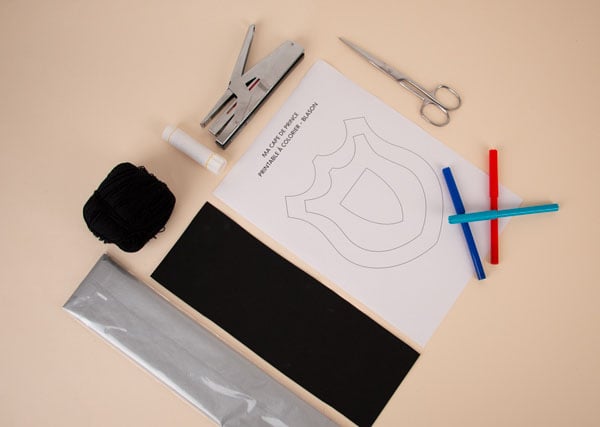
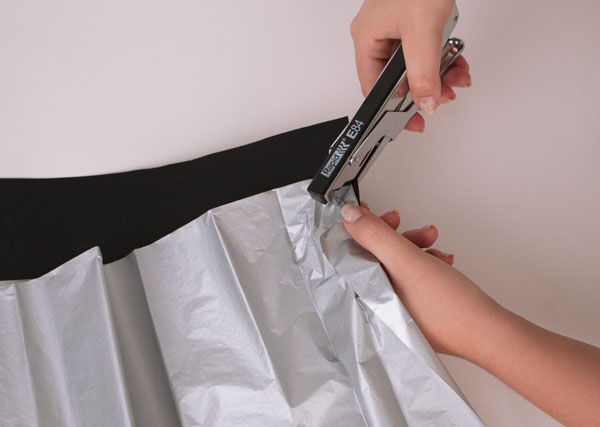
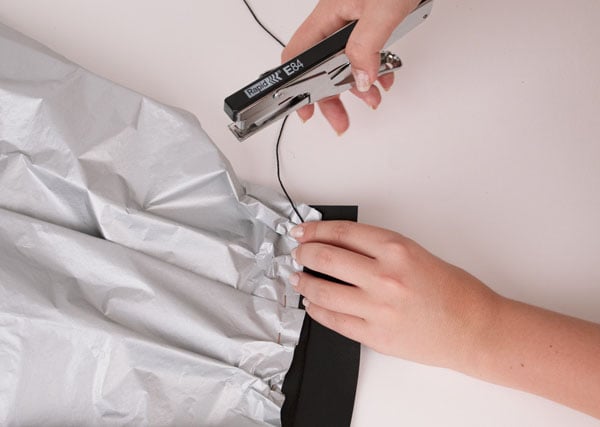
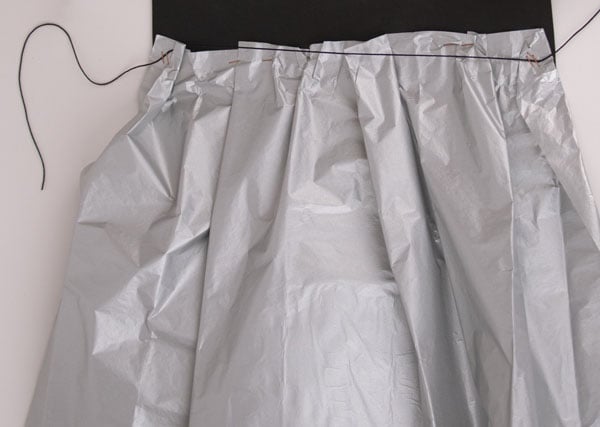
Conseil pratique : n'hésitez pas à choisir différentes couleurs pour réaliser des capes de chevaliers. Tous les chevaliers n'ont pas une cape grise et certains petits chevaliers voudront peut-être une cape plus colorée !